If you want to improve print quality, this guide is a good place to start.
The guide contains more than 20 frequently asked questions
Each corresponds to several possibilities and corresponding solutions
This article has been specially rearranged
Operation tips:
Compare thumbnails to find your problem Click on the bold text below to see detailed suggestions Save the page as a bookmark


Here is a guide to common quality issues in 3D printed parts and their potential solutions:
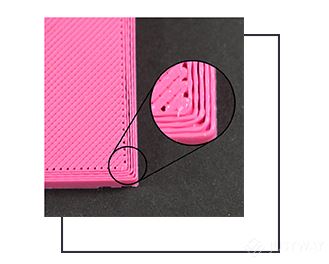
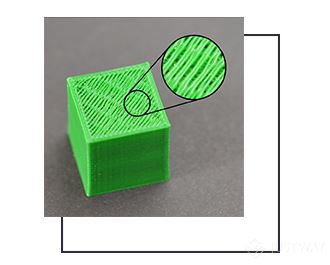
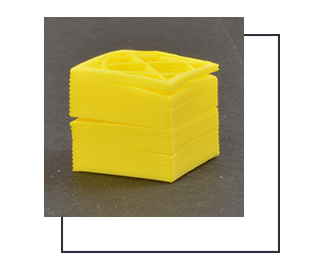
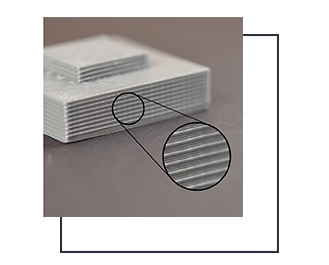
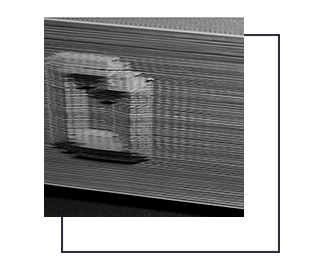
Layer Lines:
Issue: Visible lines or ridges between each printed layer.
Solution:
a. Adjust layer height: Decrease the layer height for smoother prints.
b. Increase print speed: Faster prints can help blend the layers.
c. Enable smoothing features: Some slicer software offers options to smooth the surface appearance.
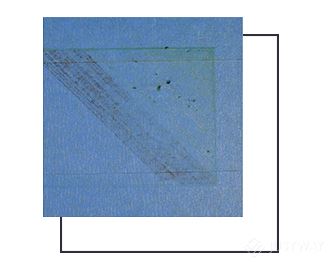
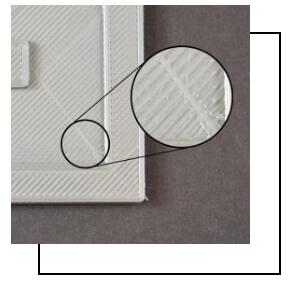
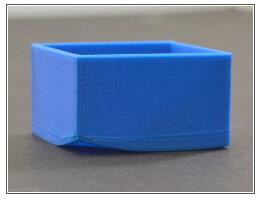
Warping:
Issue: Corners or edges of the print lift or curl.
Solution:
a. Use a heated bed: Maintain a consistent temperature to prevent warping.
b. Apply a suitable bed adhesive: Use glue stick, hairspray, or specialized bed adhesives to improve adhesion.
c. Enclose the printer: Create a controlled environment to minimize temperature fluctuations.
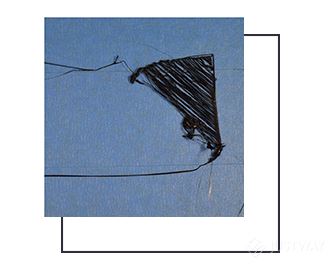
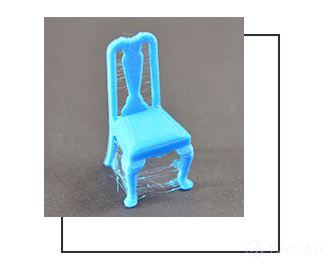
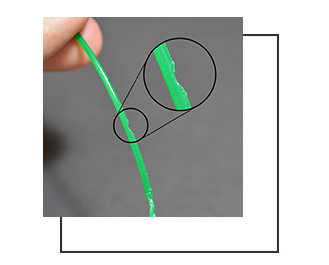
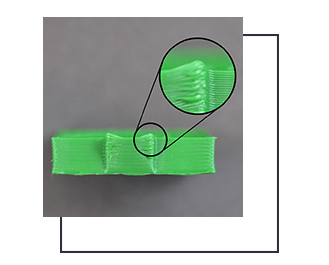
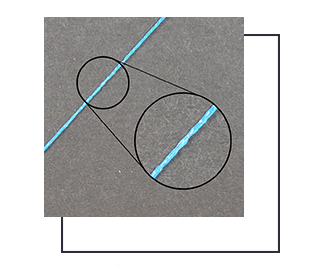
Stringing or Oozing:
Issue: Thin strands of filament between different printed parts or areas.
Solution:
a. Adjust retraction settings: Increase retraction distance to reduce filament oozing during travel moves.
b. Optimize temperature: Find the optimal temperature for your filament to minimize stringing.
c. Enable coasting or wiping: These features help reduce stringing by stopping extrusion slightly before the end of a print move.
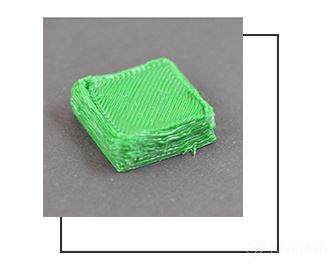
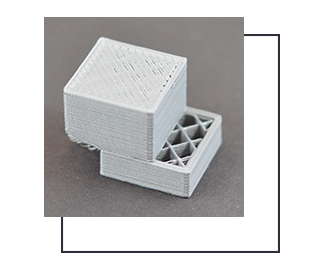
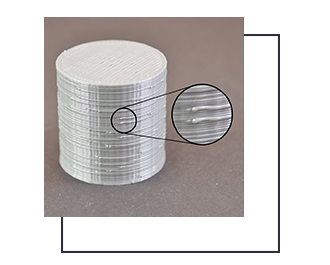
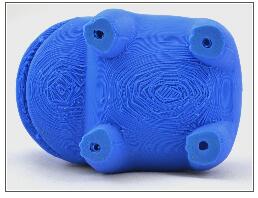
Infill Issues:
Issue: Gaps or infill inconsistencies within the printed part.
Solution:
a. Increase infill density: Use a higher infill percentage to improve part strength and reduce gaps.
b. Adjust infill pattern: Try different infill patterns to achieve better coverage and reduce gaps.
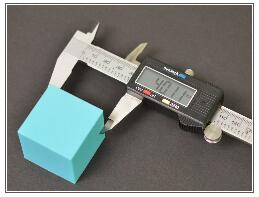
c. Check extrusion calibration: Ensure accurate extrusion to prevent under-extrusion or over-extrusion issues.
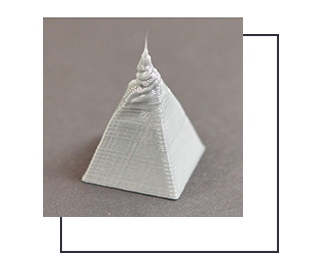
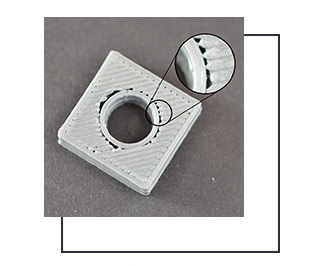
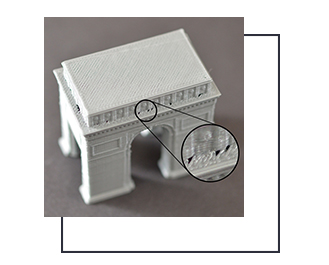
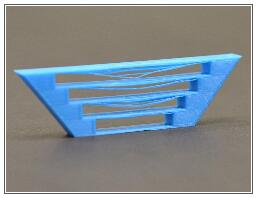
Overhangs and Bridging:
Issue: Poorly formed or sagging sections on overhanging or bridging parts.
Solution:
a. Enable supports: Use support structures to provide a foundation for overhanging sections.
b. Adjust cooling settings: Increase fan speed or enable print cooling to enhance overhang and bridging performance.
c. Modify print orientation: Rotate the model to improve support generation and reduce the length of overhangs.
Remember, troubleshooting 3D printing issues often involves a combination of adjustments to slicer settings, printer hardware, and material choices. It's important to experiment and iterate to find the optimal settings for your specific printer and filament.
Source: SIMPLIFY3D official


